Obtaining a license key for Mail Synchronization:
- Select Configuration > Email Services > Platform > Tools.
- In the Synchronization Interface Activation area, click the Request key button.
- Enter your name and check the email address to receive the key.
- Select the checkbox according to the synchronization type you wish to use.
- Click OK.
Downloading the Synchronization Tool for Mail Synchronization:
- Select Configuration > Email Services > Platform > Tools
- Download the Disclosure Agreement by clicking the attached statement link.
- Email the Disclosure Agreement to [email protected].
You will be sent an email containing credentials and a URL to the site from which you can download the Synchronization Tool. Before downloading the Synchronization Tool, you must request a license key (see Obtaining a license key for Mail Synchronization).
Installing the Synchronization Tool
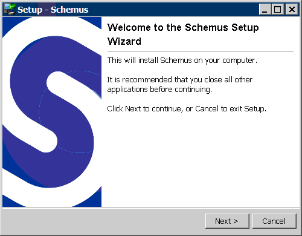
- Run the installer

- Click Next.
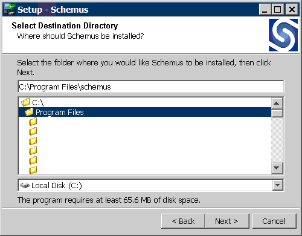
In the license agreement window, read the agreement and if your company is in agreement with the conditions, click the I accept the agreement option button, and then click Next. The installation location window is displayed.

- Select the directory in which to install the Synchronization Tool, for example, C:\Program Files\schemus. Click Next.
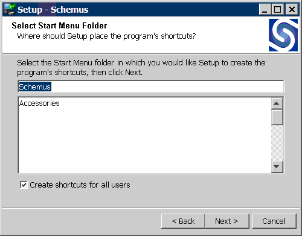
Select where to launch Schemus from.

- Click Next. The installation starts.
Once the copying of files has completed, the installer displays any release notes and change logs. The release notes contain any additional information that has been introduced since this guide was written. Additional features and bug fixes appear in this list as well as the history of changes. - Click Next to move to the end of the installer
- Click Finish to quit the installer.